Posts

Showing posts from June, 2014

How to share Webpages instantly on any Social Network

Image
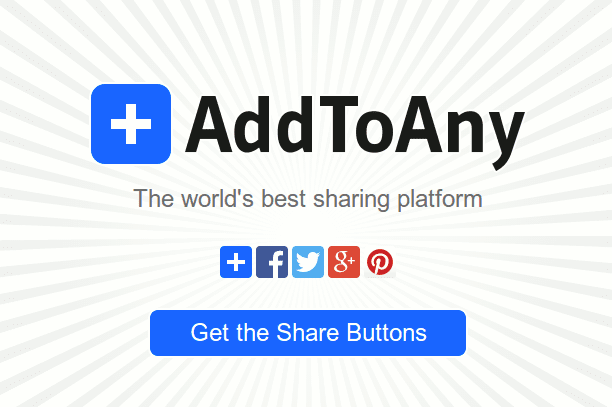
Everyday we browse Internet to find something we need. Usually, we tend to come across a well-written article or blog post which we can't wait to share it with our friends. Obviously, this sharing happens online by means of Social networking sites. You are blessed, if you find Social sharing buttons on that site. Otherwise, you have to copy the address of that page and to share it manually which is a tedious task. Because of the above reason, sometimes you refuse to share the awesome webpage you found. It is no longer a problem while there is a solution to solve this. AddToAny is what you need to solve this problem. They provide a nice platform to share the content you see online to 90+ webservices like Facebook, Twitter, Stumbleupon, Linkedin and many more across the Internet. You could also save your article to Pocket, Instapaper, Evernote or bookmark it in Reddit. There is also provision to send the link as an email to your friend. If you are a Chrome user, then there is an ext

5 uses of VirtualBox you might not know about

Image
All savvy computer users know what is VirtualBox , how and why it is used. But rather than just virtualizing, you can use it for other purposes too. The following things can also be done using VirtualBox in my point of view. For the one who don't even know what is VirtualBox, I recommend you to read the Lifehacker's guide to VirtualBox . Hide your personal files Tired of searching applications to hide your personal files? VirtualBox can give you real solution. You must have used Shared folders in VirtualBox. You could hide files, if the size of your Virtual hard disk is large enough to accommodate your files. Now all you need to do is, just cut and paste the files you want to hide from the Shared folders to the Virtual hard drive. You can retrieve the files from the VirtualBox whenever you need it. Note : One thing must be taken care in this method, if your Virtual hard disk is "Dynamically allocated". This type of hard drive will grow in size, when it is used. (i.e)

Resuming files from last played position in VLC and KMplayer

Image
Last Friday, I was watching the animation movie "The turbo". At that time, My friend called and invited me to play cricket. I closed the movie window and was ready to leave home. When I returned to see the movie again, I can't remember the last played position. Sure, it would be awesome, if we could resume movies from the last played position. It is a default setting in the GNU application SMplayer. You can make this possible by changing a default setting in the popular KMplayer. World's most popular media player VLC doesn't seem to have any provisions by default to make it possible. So, in this post I have shared a way to play media files from where we left it in the most popular media players KM & VLC. KMplayer It's simple in KMplayer. Just open KMplayer. Right click inside it's window. Select Playback → Remember Played Position. That's all now whenever you play a file. It will be resumed from the last played position. VLC media player This plug

How to Increase the Volume of any Media file using VLC

Image
Do you have any mp3 file or video file which has very low volume while you play it? You can easily fix it with the renowned VLC media player. You just need to customize a default preference of VLC. So, you can play the file with high volume. This will not resolve the problem permanently. It's a temporary fix. If you play the file with a different application, the sound would be low. As long as you keep the settings as instructed, you will hear a decent volume. This preference is available only in newer versions of VLC (I tested this with 2.1.3 and it was not available in 2.0.8). Instructions First open the VLC media player. Press Ctrl+P or Select Tools → Preferences. Select 'All' radio button under Show settings at the bottom of the preferences window. Just refer the image given below. Next select Audio. In the right side of preference window, you would see the Audio gain set to 1. Check the following screenshot. You could increase it up to 8. Set a value according to you